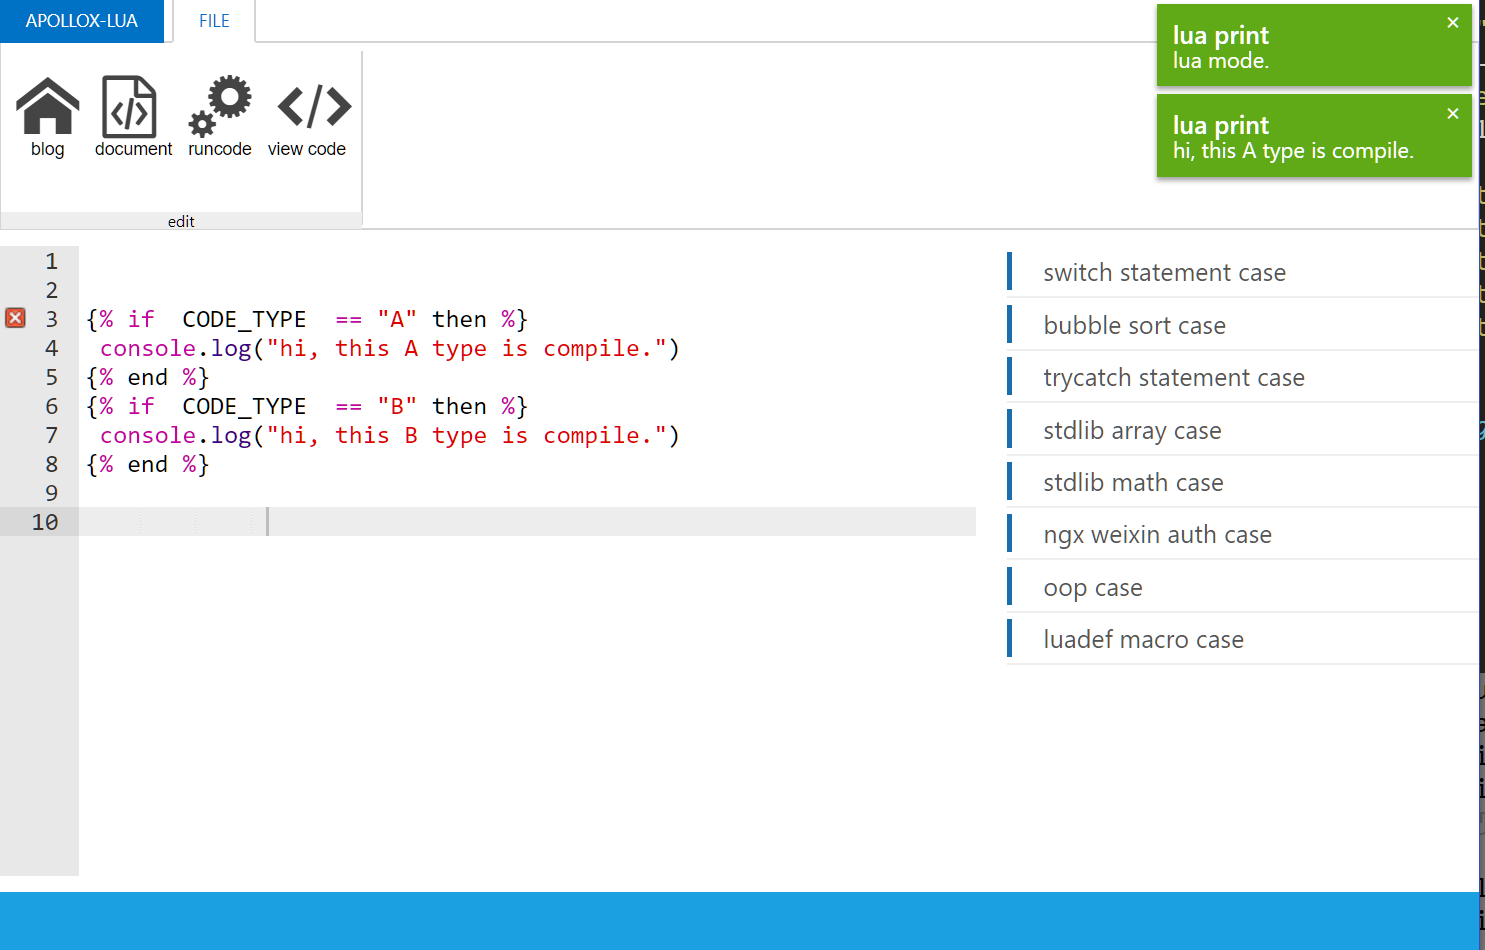
本文讲解如何在两种模式下使用macros,首先在apolloxlua下有两种模式, 一种是 web模式另一种是工具模式。 web模式下我们可以在浏览器端来使用,但是有一些限制, 就是比如说某些native的api是无法使用的, 比如说ngx,redis,mysql这种。示例请看 。而另外一种工具模式, 工具模式没有使用限制。
我们在处理某个领域的问题时候, 会用到条件编译。 条件编译会减少我们代码的体积和增加程序的灵活性。 比如这个示例中展示了如何使用:

macros 宏使用的语法:
1 宏注释
{% if SCRIPT == "lua" then %} return exports.GetValueByType (eax.value);{% end %}{% if SCRIPT == "neko" then %} return exports.GetValueByType (eax.value);{% end %}{% if SCRIPT == "c" then %} return exports.GetValueByType (eax.value);{% end %} 2 inline macro
{-inline_listense-} Copyright (c) 2018 agent.zy@aliyun.com {-inline_listense-} 在代码中内联该语法会将不同的inline macro 输出到指定位置
3 函数定义
{% local lua\_member\_call ="{ {item}}:{ {item1}}({ {item2}})" local lua\_string\_add_val ="\\"{ {item}}\\" .. { {item2}}" local lua\_string\_add_string ="\\"{ {item}}\\" + \\"{ {item2**}}\\"" %} 4 内联函数
{-inline_max-}function max (a, b) {return a>b;}{-inline_max-} 如何使用我们定义的内联函数
{
blocks.inline_max}
5 替换模式
{% local string_macro ="\\"{ {item}}\\""%}{\* MACRO(string_macro)(context) *}{\* MACRO(string_macro){ item = "string-macro-context" } *} 例子 :
{-inline\_esprima\_parse-} var options = { attachComment: false, range: false, loc: false, sourceType: "script", tolerant: true }; options.tokens = false; var result = exports.esprima.parse(buff, options);{-inline\_esprima\_parse-}// 生成code /{-inline\_generate\_code-} exports.lexerGenerateCode(result);{-inline\_generate\_code-} 生成字节码{-inline\_generate\_mid-} exports.lexerGenerateMidCode(result);{-inline\_generate\_mid-}{% if SCRIPT == "lua" then %}exports.Main = function (buff) { {% if DEBUG then %} console.log("lua mode.") {% end %} ///生成ast解析 {\*blocks.inline\_esprima\_parse\*} ///生成code {\*blocks.inline\_generate\_code\*} }{% end %}{% if SCRIPT == "c" then %}exports.Main = function (str) { {% if DEBUG then %} console.log("c mode.") {% end %} {\*blocks.inline\_esprima\_parse\*} {\*blocks.inline\_generate\_code\*} }{% end %} 最后在使用的时候, web模式不需要处理, 在tool模式下请使用 进行预编译。